Long time, no posts!
It’s been a very long time since my last post, some 8 months, so I thought it was about time I posted something new. At the moment, I’m currently looking for new contract work (or employment opportunities) within STM publishing so, for a while, I have some time to devote to my blog.
A new LuaTeX beta (version 0.80) was released on 13 June 2015 and, as usual, I wanted to compile LuaTeX from source code. I grabbed a copy of LuaTeX’s source from the subversion repository – on Windows I use the excellent, free, TortoiseSVN software to create my local repository. To create a local repository with TortoiseSVN you use the URL https://foundry.supelec.fr/svn/luatex/tags/beta-0.80.0
Compilation failed: time for an update of MinGW/MSYS
At first I could not get a successful compilation of LuaTeX 0.80 even though the prior release (0.79.3.1) compiled perfectly. Note that this failure to build LuaTeX 0.80 could simply be due to a problem with my local setup and others might not experience it: I’m merely documenting what I did to fix my own issues with the build. After some discussions with a member of the LuaTeX development team I decided it was time to do a fresh/updated install of the tools you need to compile LuaTeX – MinGW and MSYS, which provide the compiler, libraries, Bash shell and other tools/utilities.
Which ones did I use?
I decided to use the following versions of MinGW and MSYS:
Notes on installation
Installing mingw-w64 just requires running the .exe provided. To install MSYS you simply unpack the file MSYS-20111123.zip. I chose to install mingw-w64 and MSYS on my E: drive in directories called MinGW64 and MSYS respectively. Once you’ve installed MSYS you need to run a small “post installation” batch file called pi.bat which is located in the postinstall subdirectory of your MSYS folder (e.g,. e:\msys\postinstall\pi.bat). This batch file asks a couple of simple questions to “link up” your MinGW installation and your MSYS installation. After installing mingw-w64 and MSYS I was able to build LuaTeX 0.80 without any difficulties. Note that you will probably need to update your system’s PATH environment variable to include the location of the directories which contain the numerous executables provided by mingw-w64 and MSYS.
Next step: Grab the LuaTeX code
As noted, you’ll need an SVN client to checkout your own local copy of the LuaTeX repository. I used TortioseSVN and the aforementioned URL: https://foundry.supelec.fr/svn/luatex/tags/beta-0.80.0 Let’s assume you successfully downloaded LuaTeX’s source code into a repository directory called, say, e:\luatex\beta-0.80.0. The next step is to start the MSYS Bash shell by double-clicking on the batch file msys.bat located in the root of your MSYS folder. With the Bash shell running, change your current directory by issuing the command cd e:/luatex/beta-0.80.0
Running the build script: build.sh
Located within the e:\luatex\beta-0.80.0 directory is a file (Bash shell script) called build.sh which you execute to perform the compilation process (i.e., it calls configure and make). If you look inside build.sh you’ll observe there are several command-line options you can give to the script but I’m not going to cover those here – apart from the --debug option which I’ll discuss in a moment. To execute the script you just need to type ./build.sh press return and, hopefully, the build will start. Depending on the options you give to the build script the build process can take quite a long time. On my Intel i7 (6 core) machine (with 16GB memory) it can take as long as 20 minutes for a full build.
Using build.sh –debug
As you might have guessed, running the build.sh script with the --debug option (./build.sh --debug) creates a version of the luatex.exe executable that contains a wealth of additional information which provides GNU’s debugger (gdb) with the information it needs in order to run the executable for debugging purposes. Just to note that, at the time of writing, the non-debug luatex.exe file (on Windows) is approximately 8MB, but the debug version explodes in size to something like 325MB! (again, on Windows). This has been reported to the LuaTeX team and is presently being investigated.
Now the fun stuff: debugging luatex.exe
LuaTeX is a large and very complex piece of software which makes use of many C/C++ libraries, including: FontForge, Cairo, MetaPost, GNU numerical libraries, libpng, zlib and others – all in addition to its own code base plus, of course, the Lua scripting language. It’s really quite an amazing feat of programming to glue all these libraries together. If, like me, you are interested to see how LuaTeX works “under the hood”, the only way to really achieve that is to create a debug version of LuaTeX (noted above) and run it using the GNU debugger (gdb) – the GNU debugger is installed as part of the mingw-w64 distribution.
I prefer a Visual Debugger
Of course, it’s quite possible to use the GNU debugger via a command line but after years of Using Microsost Visual Studio I very much prefer using a graphical interface to set breakpoints, single-step through code, examine variables etc – all the things you do as part of a debug session. However, we’ve built the luatex.exe (debug version) through a script, using GNU compilers, and we don’t have a nice Visual Studio project we can use: so how can we have the pleasures of a GUI-based debugging session? Well, there’s some great news: you can! The Eclipse IDE (Integrated Development Environment) has a fantastic feature that let’s you import an executable (debug version) and automatically creates a project that lets you use GNU’s gdb within a nice GUI world – you can single step through the original C/C++ code, and work just as you would in a typical Visual Studio world. It’s really quite amazing and is possible because the debug version of luatex.exe is expanded to provide/include the additional information that lets you do this.
Installing Eclipse on Windows
Eclipse is built in Java so you’ll first need to ensure you have Java (and the Java Development Kit) installed before you try to install Eclipse. I already had 32-bit Java installed but I decided to install the 64-bit version (keeping the 32-bit version) – all I did was to install the 64-bit Java version in a different directory. Again, you might need to update your system’s PATH environment variable so that it can find Java executables.
Which Eclipse?
You need the Eclipse IDE for C/C++ Developers. The latest version is, at the time of writing, available here (again I opted for the 64-bit version). Now I must confess that I did encounter a few minor issues with trying to configure Eclipse and telling it to use to use the compiler setup provided by mingw-w64. Such issues can be very dependent on your local setup so I won’t go into the details. However, if, like me, you do encounter difficulties trying test the Eclipse install (compiling a simple test C program with the GNU compiler) then be patient and Google for help + tips because most issues are likely to have been noted/discussed somewhere on the web.
A TIP I can offer: .w source file extensions
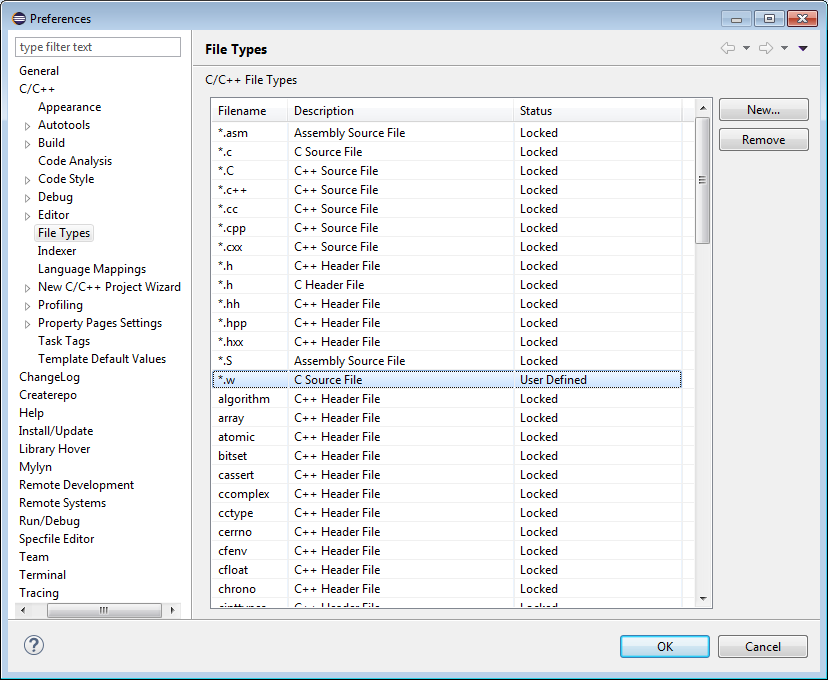
One particular issue you might hit when trying to debug LuaTeX with the GNU debugger (gdb) is the strange source file extension used by some source files in the LuaTeX code base. Much of core LuaTeX is written in CWEB, which is the C-code version of Knuth’s venerable WEB (structured documentation) format. CWEB code is a mixture of C program code and TeX documentation code. During the build process a program called CTANGLE processes the .w files to generate the C source for compilation. However, the debug executable contains references to these .w source files but Eclipse needs to be told that files with a .w extension are source files, otherwise Eclipse and the GNU debugger (gdb) get “confused” and claim they can’t find the .w source files – meaning you can’t step into the source code. All I did was (within Eclipse) to set up .w as a source file type under Window --> Preferences --> C/C++--> File Types as shown in the screenshot below.

And finally: opening luatex.exe with Eclipse
From the Eclise menu, choose File --> Import and select C/C++ Executable. Click “Next” then “Browse” to locate the debug version of the LuaTeX executable you built earlier (Note: here I’ve named my executable file as luatex080debug.exe). From then on, just continue with the import process – for now, during the import process I just accepted the default options offered by Eclipse (you can read-up later). Once Eclipse is ready, click “Debug” in the final step and the debug version of the executable will be examined and parsed to extract all the information it contains and from that data Eclipse will build you a project for debugging LuaTeX, complete with access to all the source code for you to set breakpoints and step through at your leisure. How amazing is that!
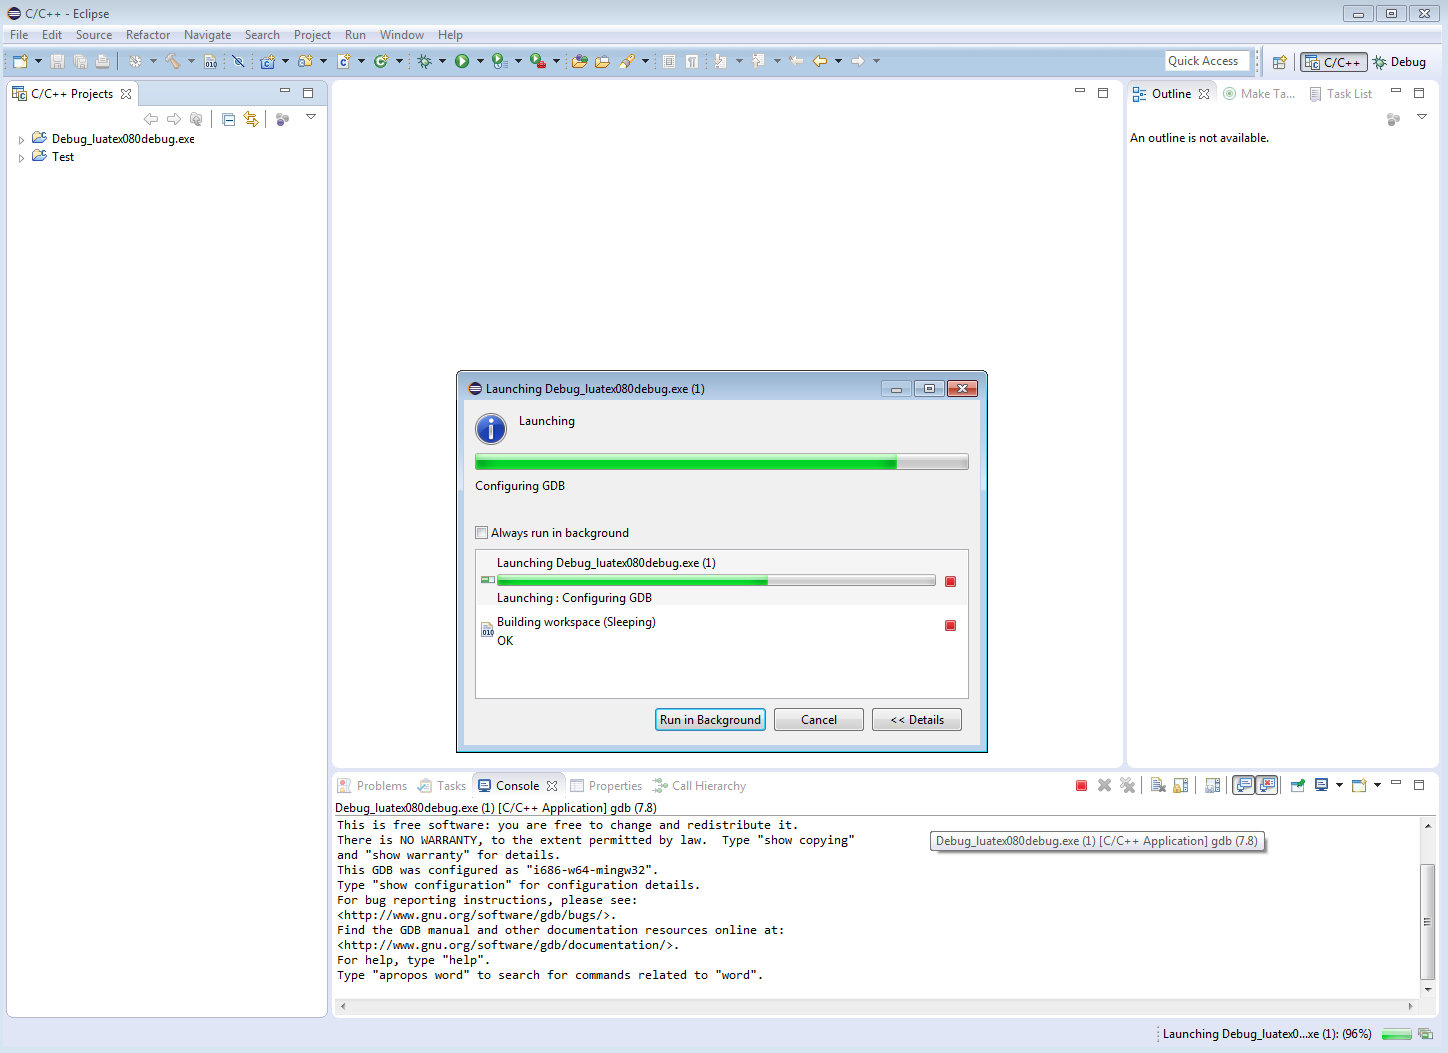
The debug executable being parsed by gdb and Eclipse building your debugging project:

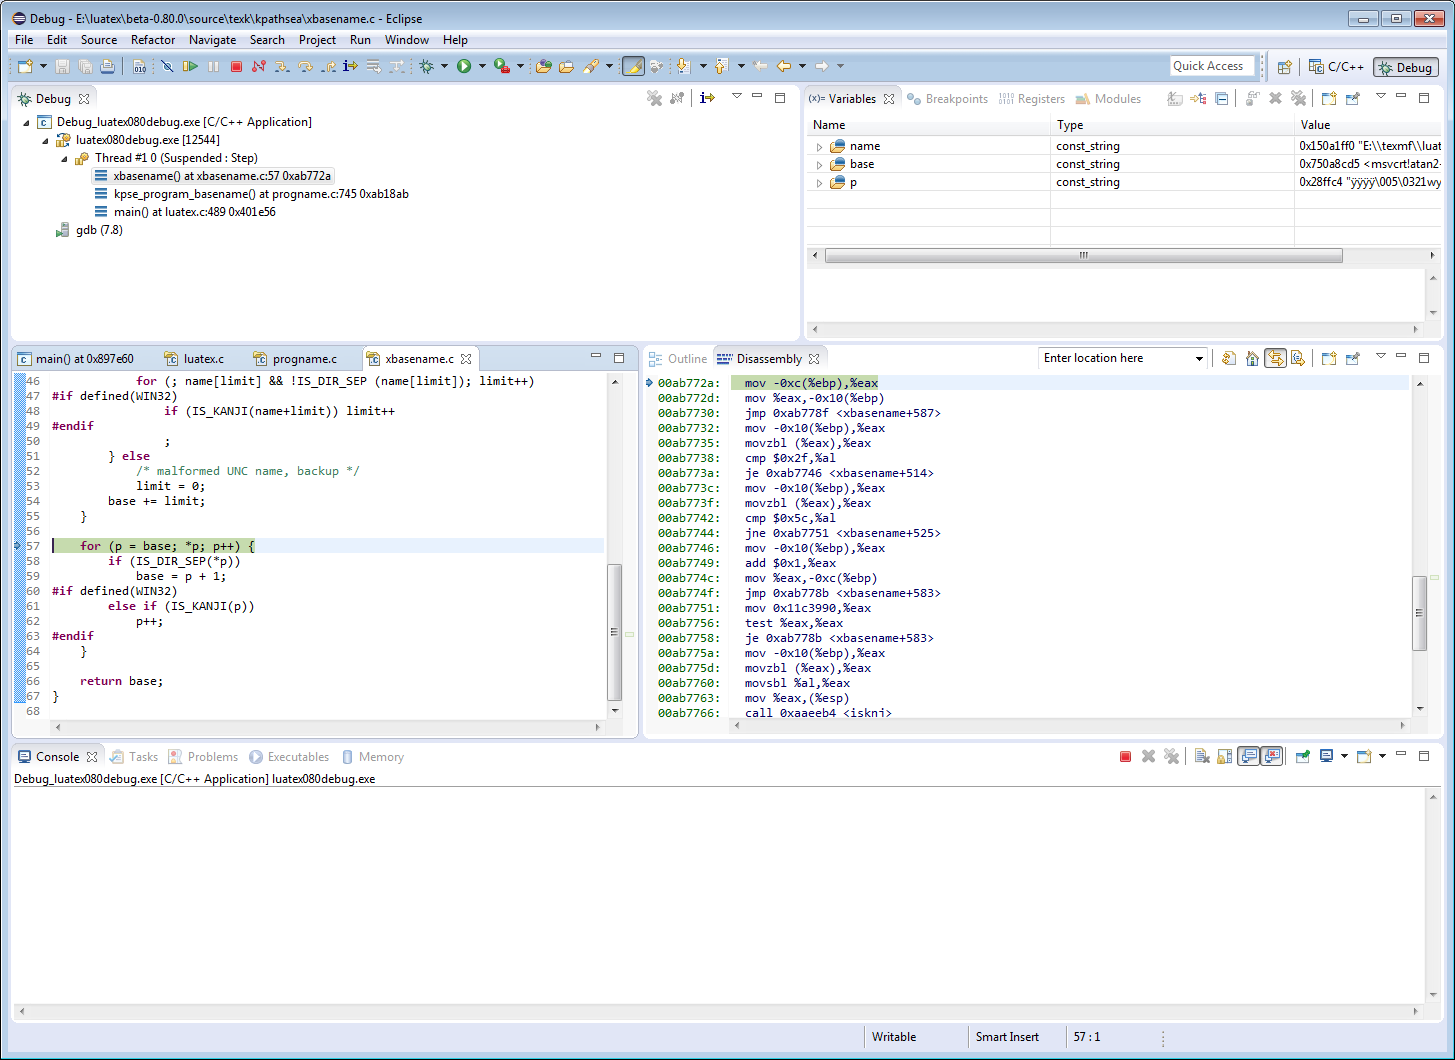
Single-stepping through LuaTeX’s source code in Eclipse 🙂


